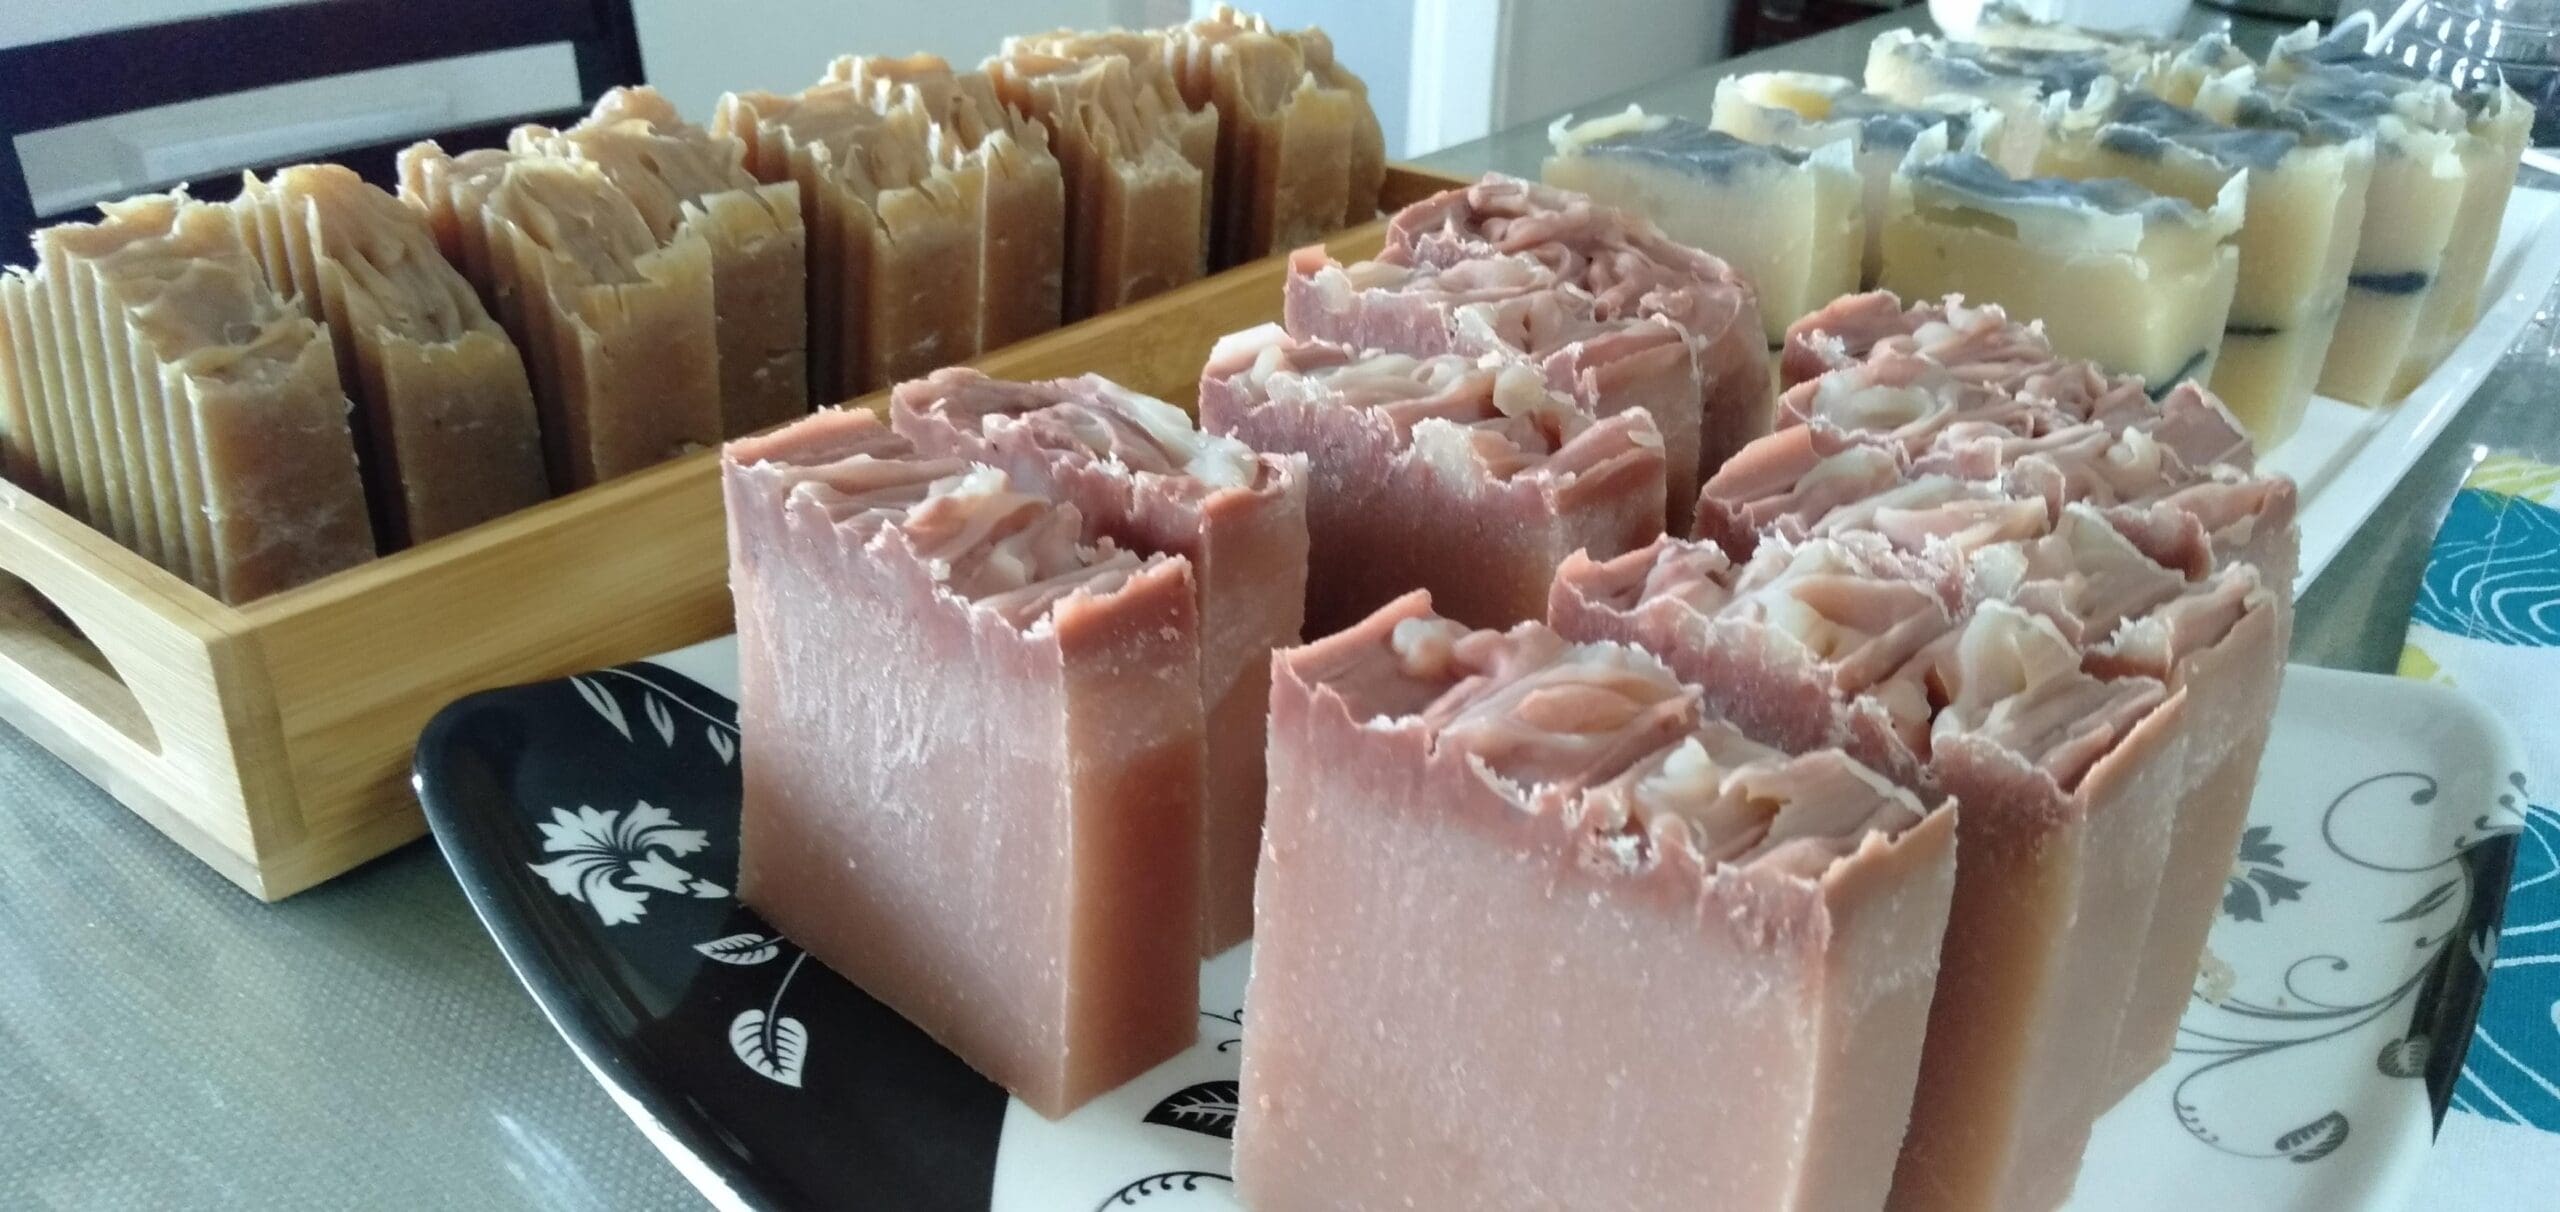
Making soap at home is more than just a DIY trend – it’s a practical, creative, and rewarding skill that allows you to craft personalized, chemical-free soap tailored to your skin’s needs. Whether you’re looking to avoid synthetic ingredients, start a small home-based business, or simply try your hand at a fun hobby, learning how to make soap at home can be both enjoyable and empowering.
In this guide, we’ll walk you through the essential steps, methods, ingredients, and safety tips to help you get started with home soap-making.
Why Learn How to Make Soap at Home?
Before we get into the steps, let’s explore a few compelling reasons why many people are turning to homemade soaps:
- No harmful chemicals: You control what goes into your soap – no parabens, sulfates, or synthetic fragrances.
- Eco-friendly and sustainable: Homemade soap produces less waste and uses fewer resources.
- Cost-effective: Once you invest in basic tools and ingredients, making soap at home becomes economical.
- Personalization: Add your favorite herbs, essential oils, or colors.
- Perfect for gifting or selling: Handmade soaps make excellent gifts and are popular in artisanal markets.
Basic Methods for Making Soap at Home
There are three main ways to make soap at home. Each has its own learning curve, but all are doable with the right instructions and safety practices.
- Melt and Pour Method
The easiest method for beginners.
- What it is: You start with a pre-made soap base (like glycerin) and melt it down.
- Steps:
- Cut the soap base into small cubes.
- Melt it using a double boiler or microwave.
- Add fragrance, color, herbs, or exfoliants.
- Pour into molds and let it set.
- Why beginners love it: No lye handling, quick process, child-friendly.
- Cold Process Method
The most traditional and customizable method.
- What it is: You mix oils and lye (sodium hydroxide) to create soap from scratch.
- Steps:
- Prepare your oils and lye water separately.
- Mix them when temperatures align.
- Blend using a stick blender until trace.
- Pour into molds and insulate.
- Cure for 4–6 weeks.
- Why it’s popular: You control every ingredient. Soaps are long-lasting and luxurious.
- Hot Process Method
Faster than cold process, with rustic results.
- What it is: Similar to cold process, but the mixture is “cooked” to accelerate saponification.
- Steps:
- Combine oils and lye.
- Heat the mixture in a slow cooker.
- Stir until it thickens and becomes translucent.
- Pour into molds and cool.
- Pros: Ready to use in days instead of weeks.
Key Ingredients You’ll Need
If you’re serious about learning how to make soap at home, you’ll want to understand the basic components:
- Oils/Fats: Olive oil, coconut oil, shea butter, castor oil.
- Lye: Sodium hydroxide (for solid soap). Must be handled with care.
- Liquid: Distilled water, herbal teas, or even milk.
- Additives: Essential oils, clays, natural colorants (turmeric, beetroot), dried herbs, oats.
- Molds: Silicone or wooden molds work best.
- Tools: Digital scale, stick blender, thermometer, heatproof bowls, spatulas.
Safety Tips When Making Soap at Home
Working with lye means you need to follow basic safety protocols:
- Always wear gloves, goggles, and long sleeves.
- Work in a well-ventilated area.
- Add lye to water (never the other way around).
- Keep vinegar nearby to neutralize accidental spills.
- Store lye safely and away from children.
Customization Ideas for Homemade Soap
Once you’re confident with the basics, the fun really begins. Here are a few ideas to personalize your homemade soap:
- Calming Lavender Soap: Add dried lavender flowers and lavender essential oil.
- Coffee Scrub Bar: Mix in ground coffee for exfoliation and a lovely scent.
- Neem & Turmeric Soap: Great for acne-prone skin.
- Mint & Charcoal Bar: Refreshing and detoxifying.
Experiment with layering, swirling colors, and embedding herbs or flower petals.
How to Make Soap at Home Without Lye
Many beginners are wary of handling lye. While lye is necessary for true soap-making (it’s part of the chemical reaction), you can bypass it using melt-and-pour bases. These have already gone through the saponification process.
Steps:
- Purchase a natural melt-and-pour base (like goat milk or shea butter base).
- Melt the base, add desired ingredients.
- Pour into molds and let it harden.
No need to handle raw lye – great for beginners or kids.
Common Mistakes When Making Soap at Home
Even seasoned soap makers make mistakes. Here are a few to avoid:
- Incorrect lye measurements: Always measure by weight, not volume.
- Rushing the process: Especially in cold process, patience is key.
- Skipping safety gear: Always suit up.
- Not insulating your mold: Can lead to partial gel or uneven texture.
- Overloading additives: Too many oils, herbs, or clays can affect curing and consistency.
How to Store and Use Homemade Soaps
Once your soaps are made and cured:
- Store them in a dry, cool place with good airflow.
- Use breathable wrapping like wax paper or cloth bags.
- Label them with ingredients and date.
- Avoid airtight plastic wrapping before they are fully cured.
Selling Homemade Soap: Tips for Beginners
If you fall in love with the process, turning it into a business is a natural next step.
- Start small: Sell to friends and family first.
- Use high-quality packaging: It builds trust and brand identity.
- Be transparent: List all ingredients clearly.
- Follow local regulations: Some regions require certification for selling skincare products.
- Market on social media or platforms like Etsy.
Final Thoughts: Embrace the Joy of Home Soap-Making
Learning how to make soap at home is a fulfilling journey – one that empowers you to live more sustainably, take control of your skincare, and express your creativity. Whether you’re experimenting with new scents, perfecting a formula, or gifting handmade bars to loved ones, each batch brings satisfaction and learning.
If you’re serious about getting hands-on, the course offered above on this page is a fantastic next step. You’ll find structured lessons, real-life guidance, and support to ensure your soap-making experience is safe, enjoyable, and successful.

