Can you guess what this is?
We planted it about 3 months back and the first sprout appeared after 2.5 months. (Yeah, it takes THAT long and you have got to be patient). This is the first hint of sprouting and growth.
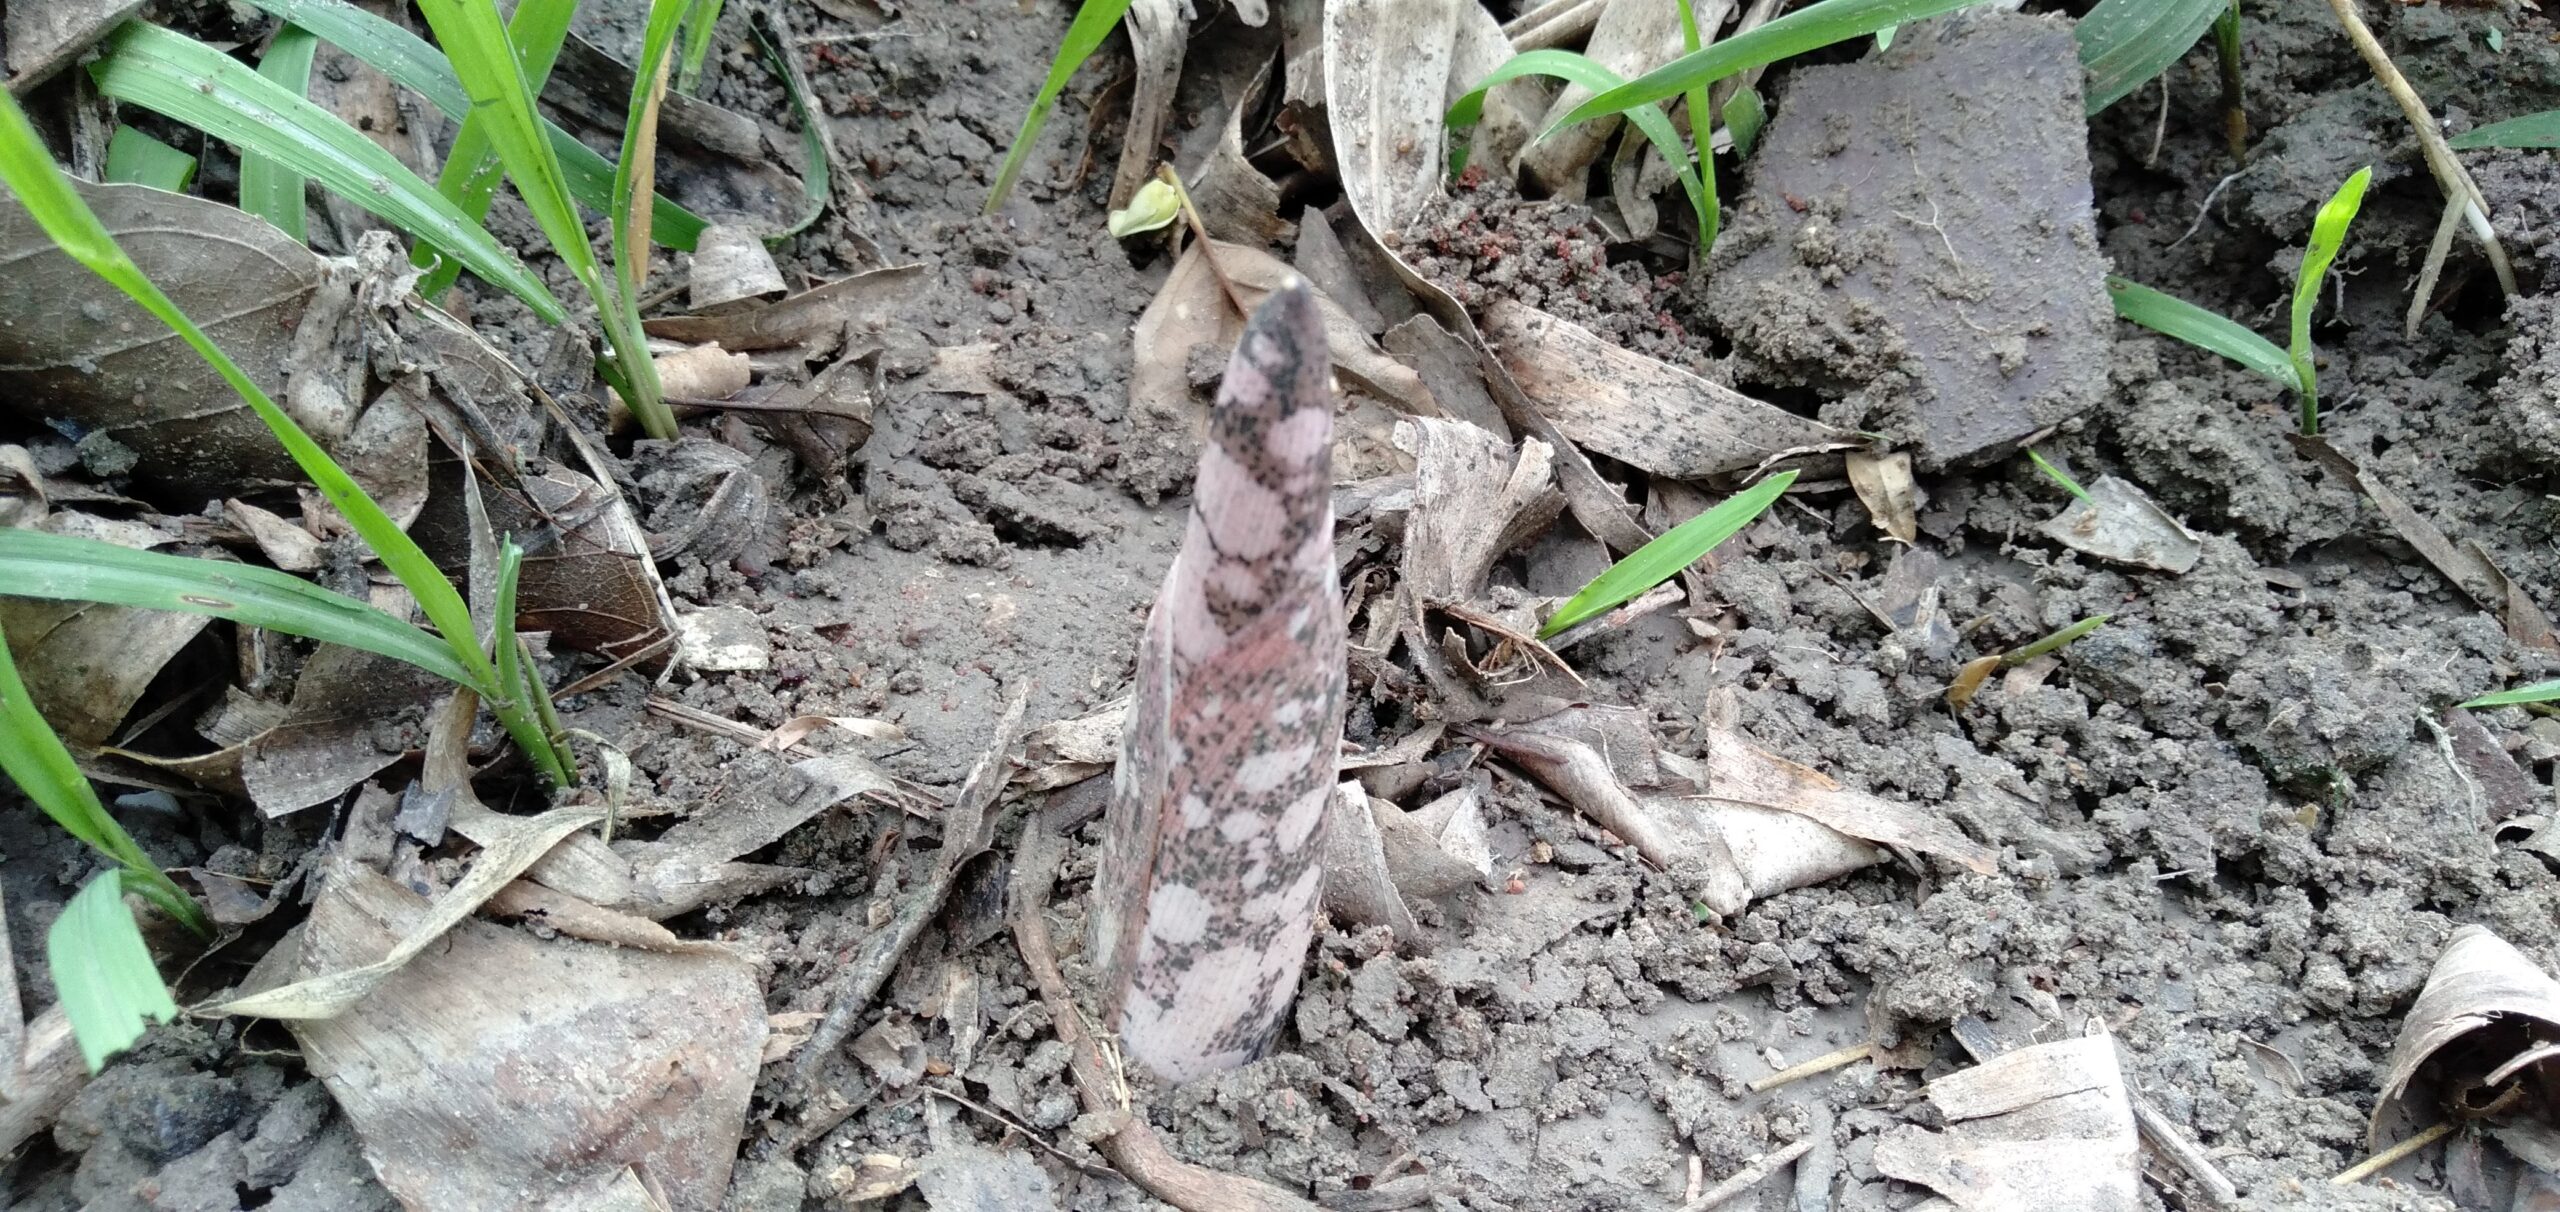
This is elephant’s foot yam! Karanaikizhangu in Tamil. I am beside myself seeing each one of them sprout as if by magic!
Click below to see the next stage of growth…
Isn’t it fascinating?
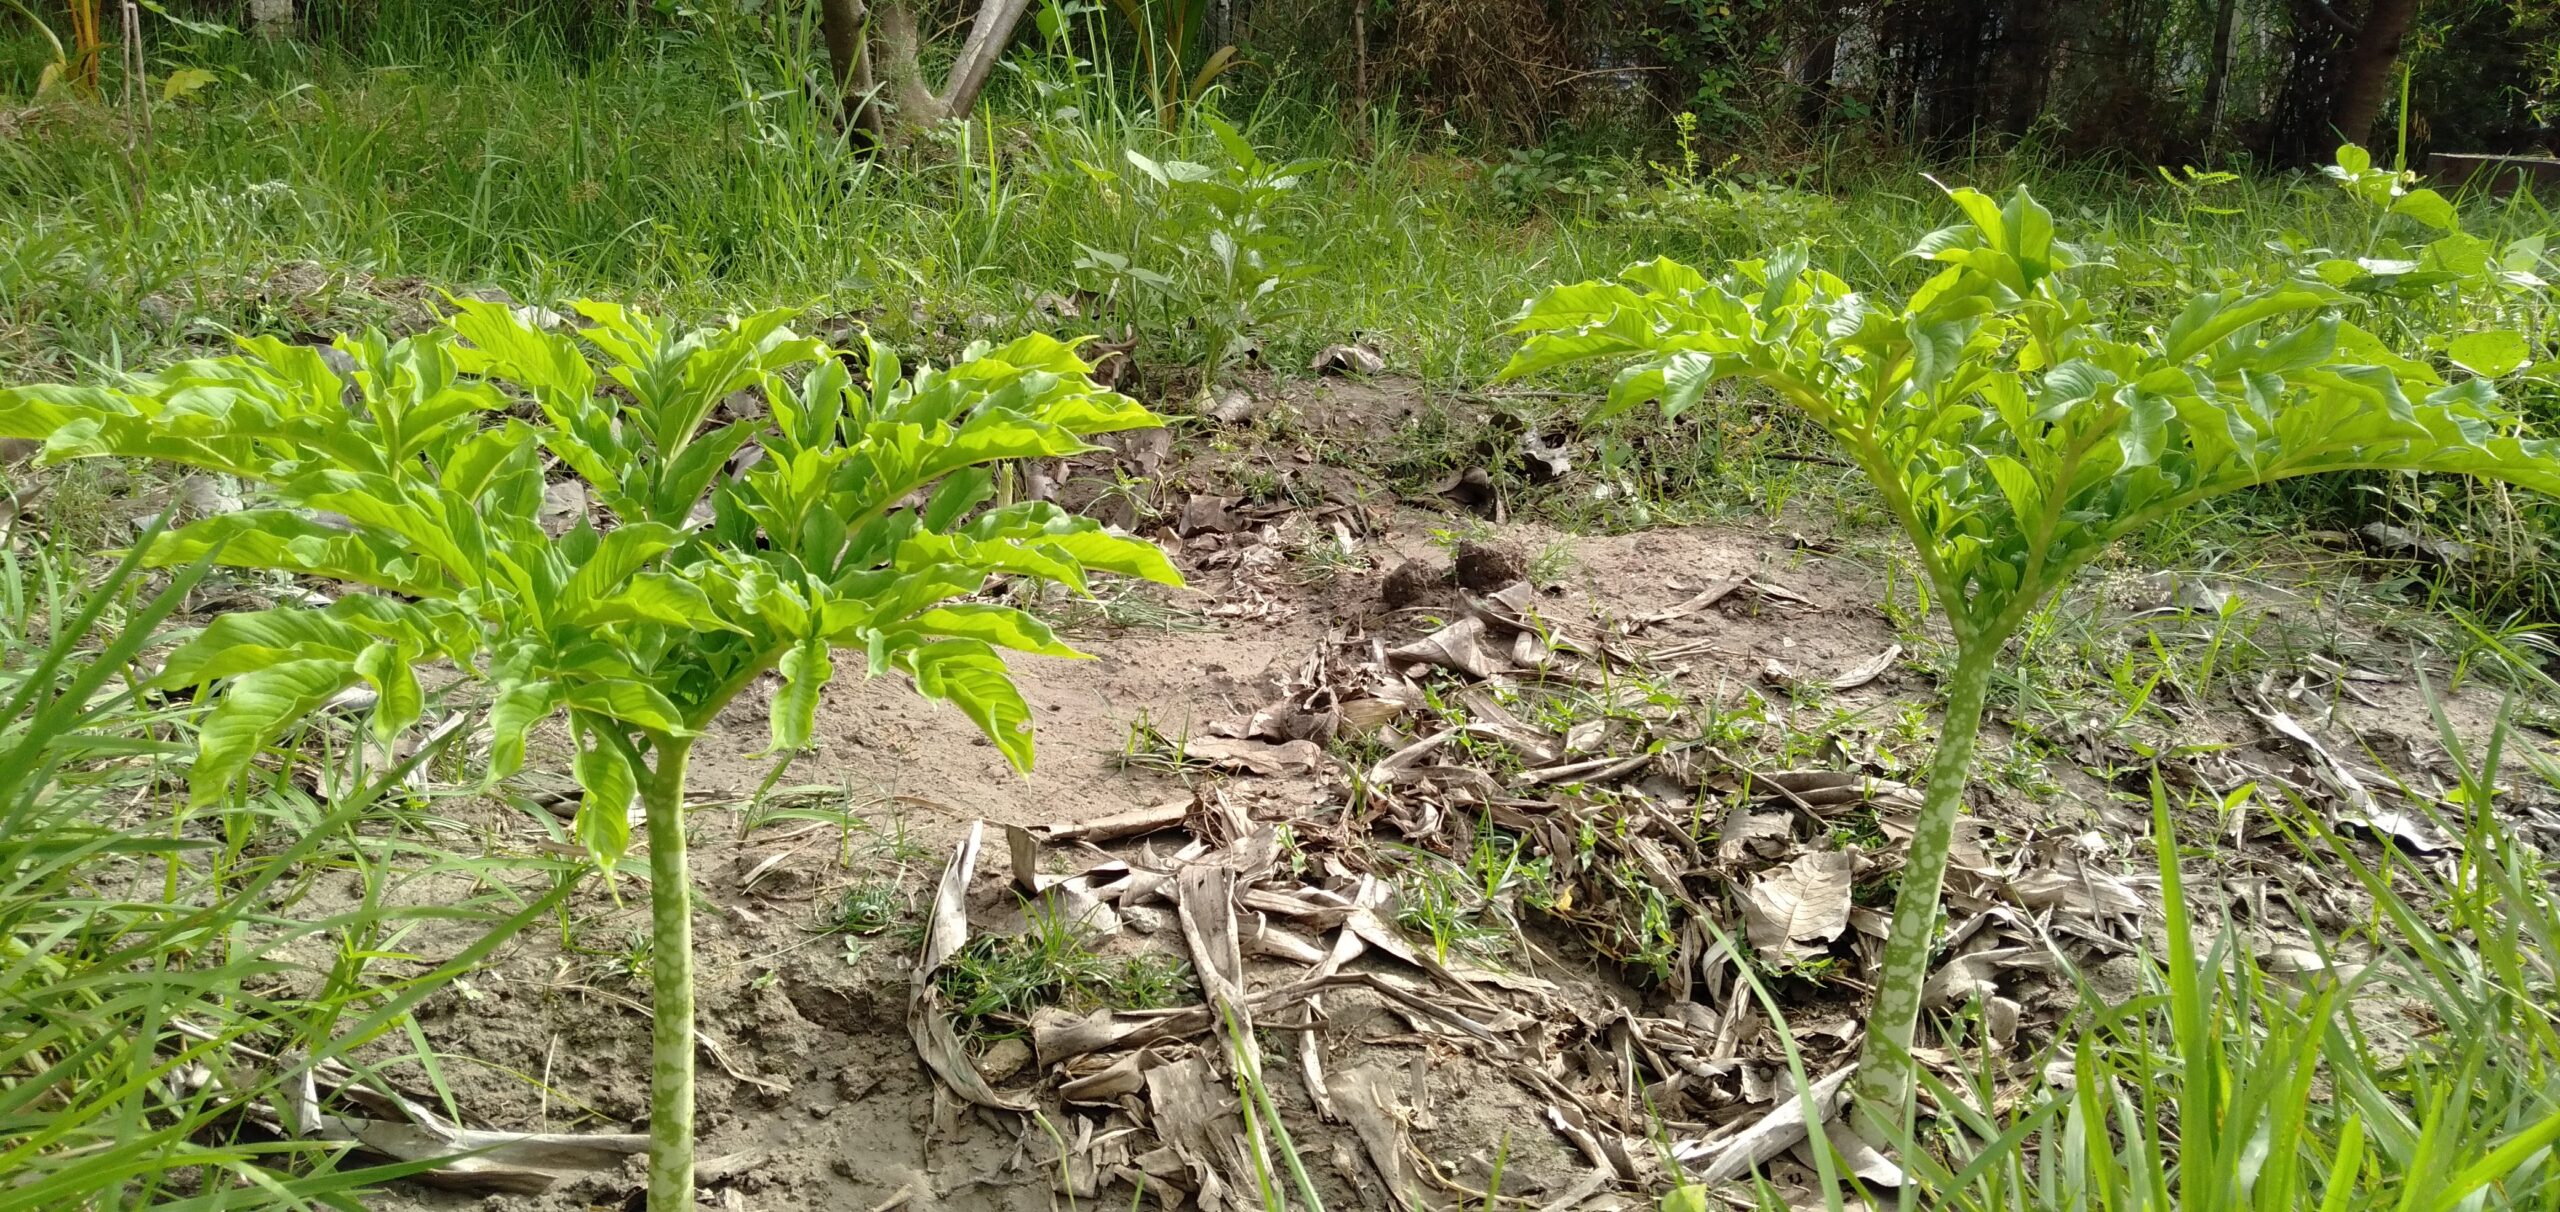
Look at the plant growing! It’s like a miniature tree!!! I haven’t seen anything like it before. We knew it would take about 2-3 months for it to sprout and were anxiously waiting and looking for signs of growth and finally, see how majestic it looks!
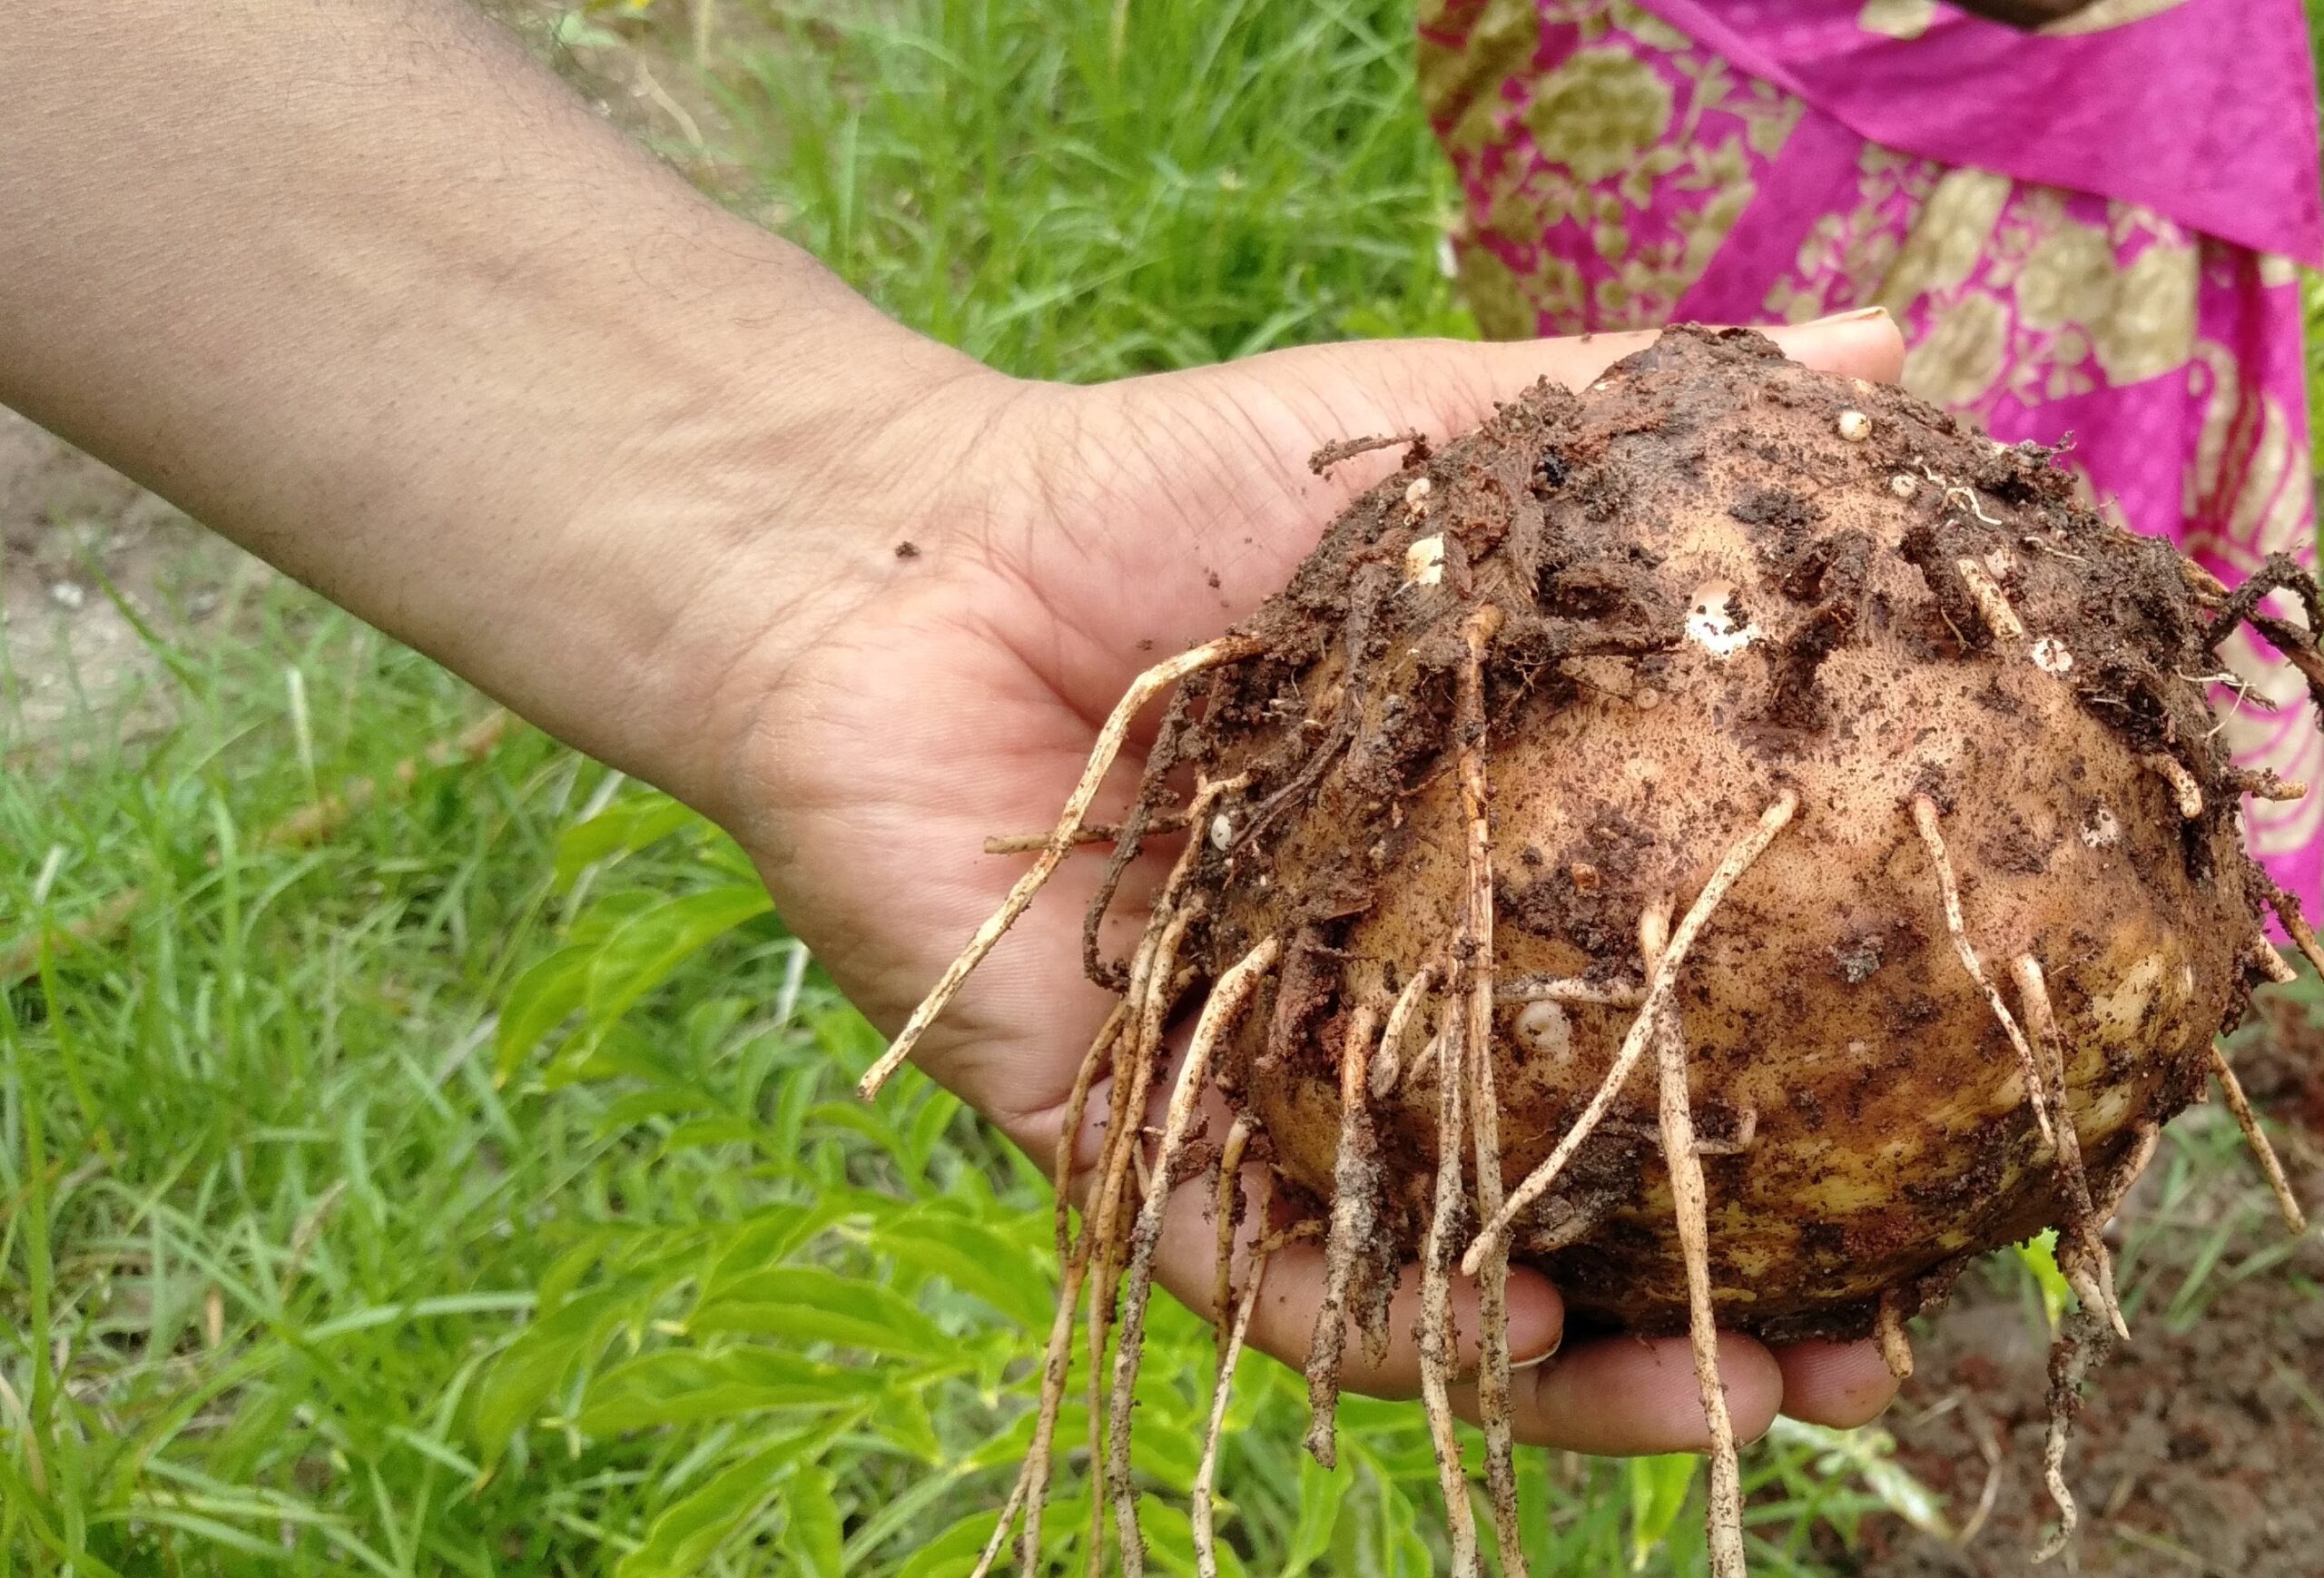
After 8 months or so, once the tops start yellowing and drooping, it’s time for harvest.
How to prepare the yam for sowing:
1. We bought some store-bought yam and cut it into pieces ensuring that each piece had a bud.
2. We soaked it in diluted cowdung water for sometime.
3. We then prepped each piece by smearing some fresh cow-dung on it. Yes, that acts as a natural insecticide.
4. Then we dried it (along with the cow-dung smear) for a week.
5. After a week, we prepared a large individual pits to plant each of the piece into the ground. We applied a good mix of compost and cowdung manure as our potting mix.
I had shared the whole process in this YouTube video where I show yam plantation. You can watch it HERE.
Here it is!!!
What a fulfilling journey we had of growing yam! Let me know if you are planning to grow this too and hope this post and the supporting videos help you.