
You all know about my abundant chilli harvest and my farm goals for this year don’t you? You don’t!!! *insert my horrified look* – then you must read this post here first.
Okay, so my chilli loaded harvest and my obsession with fermented food kind of coincided and boy am I glad that happened! I made some lip-smacking chilli pickles the year before that we ate all through last year and was AMAZING with my aloo paranthas; and then I also dried the excess chillies and made chilli powder with another big lot. But I wanted to try something new with my ripe yet fresh red chillies. That’s when I got this idea of fermented chilli sauce! This is a spicy-delicious way to make use of your chillies. And it’s so easy too. So let’s get started.

Ingredients:
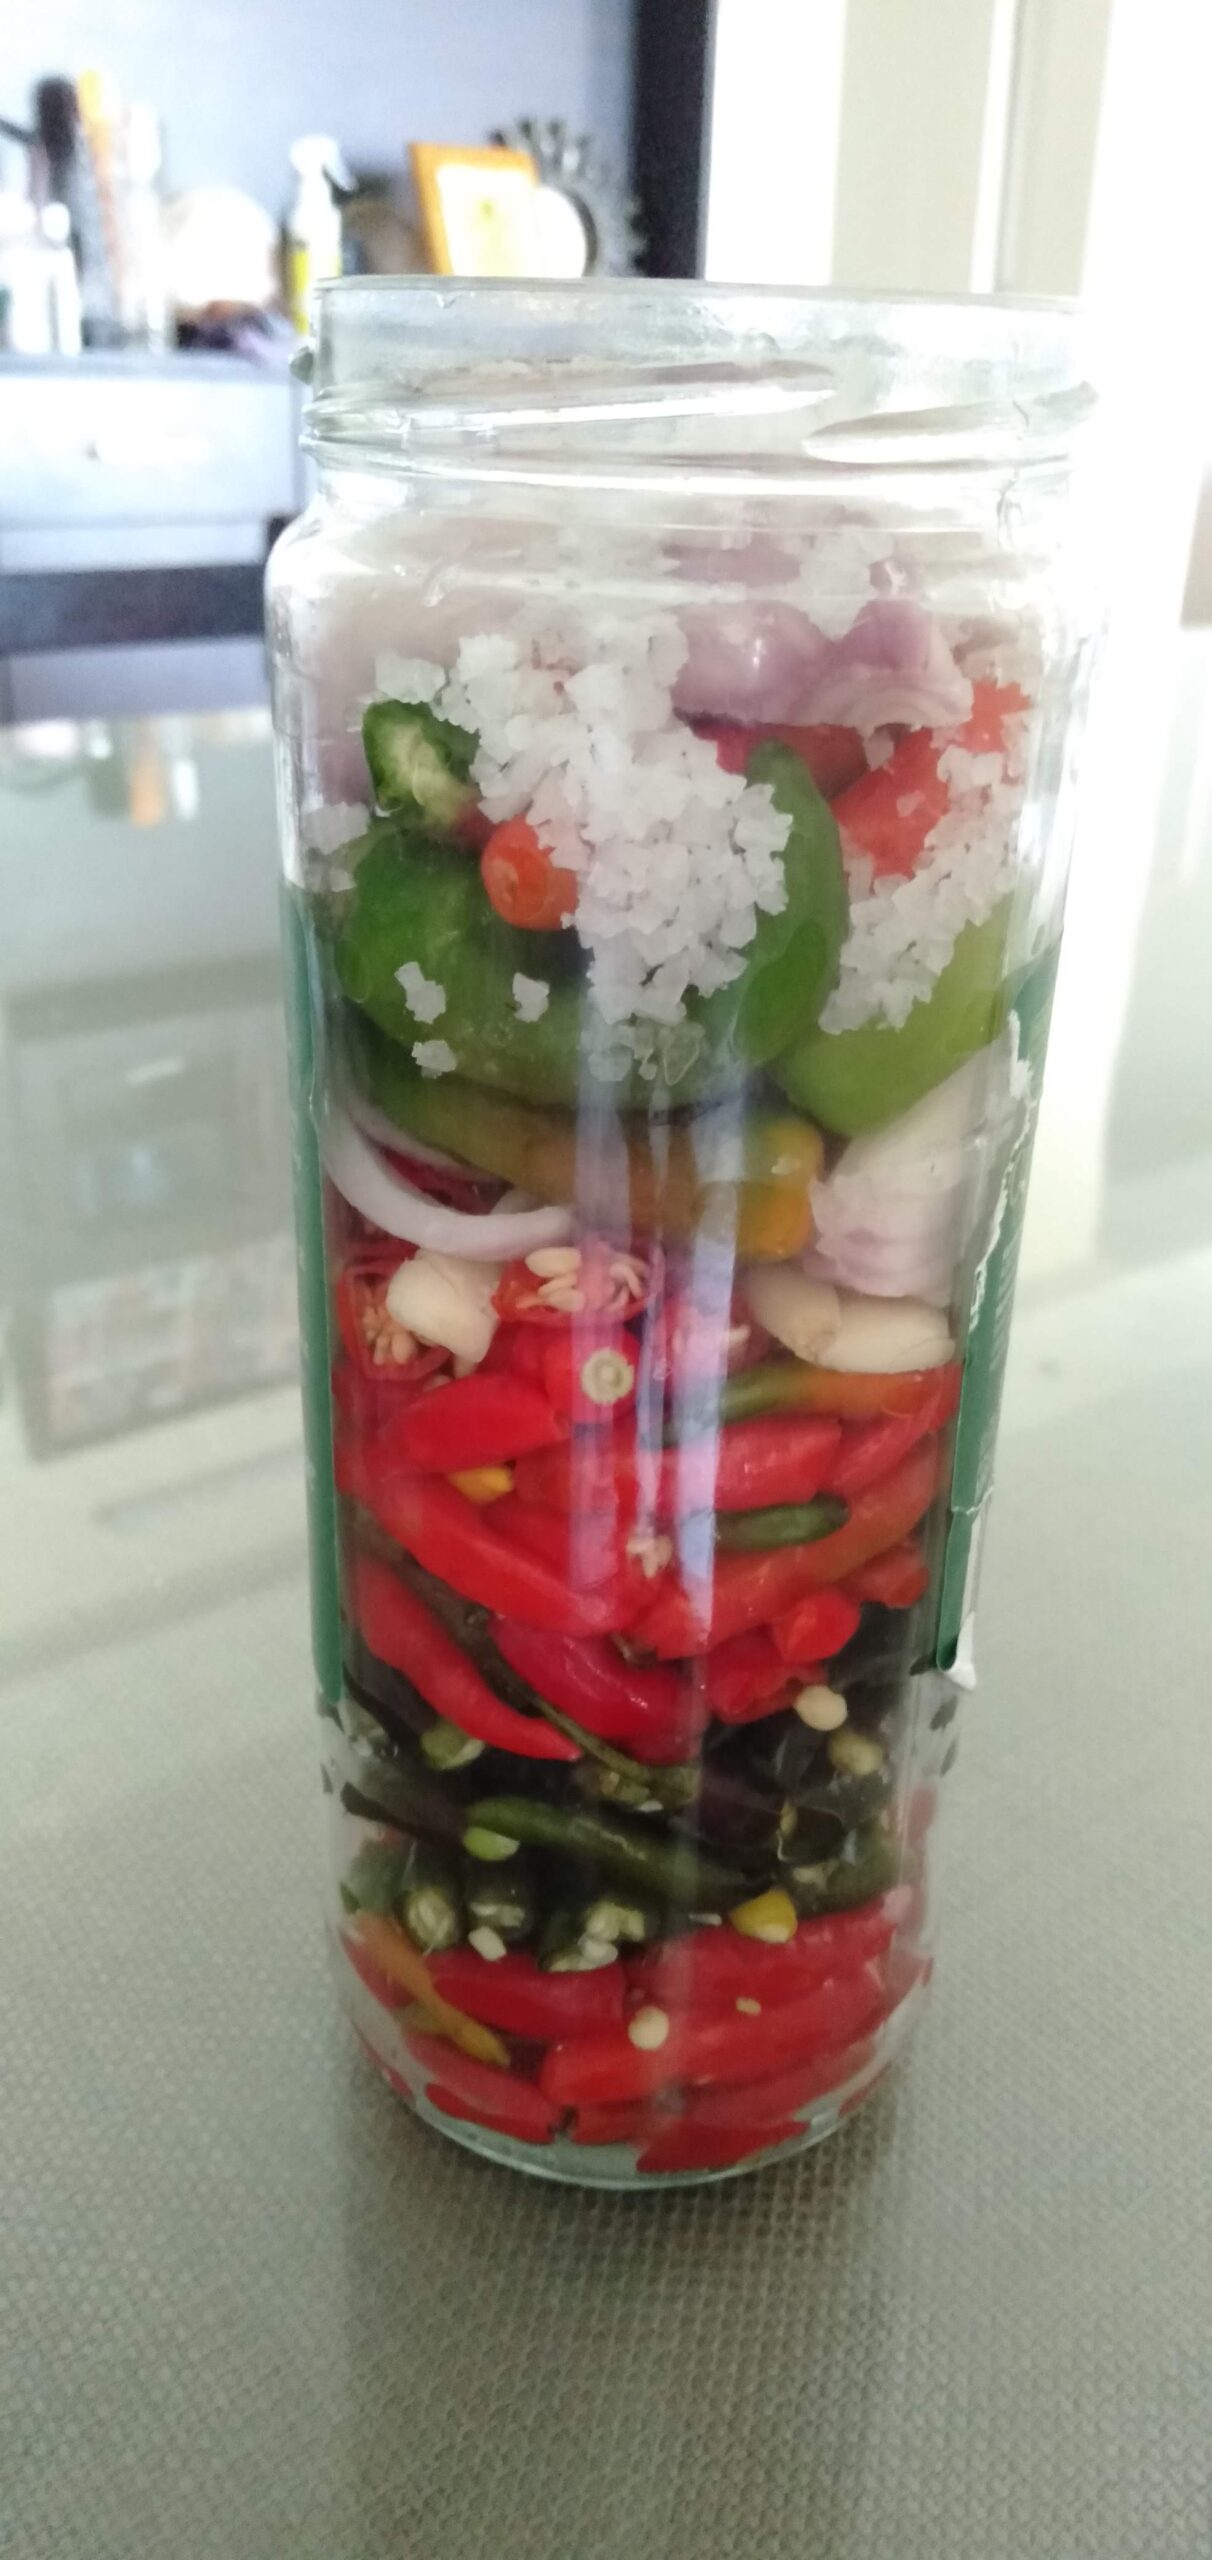
Fresh ripened red/green chillies – 400g (approx)
Onion – 1 small
Garlic – 5-10 cloves
Salt – 2 tsp
Coriander leaves – optional
Honey – optional
NOTE: I used 3 different varieties of my farm grown chillies – purple cayenne pepper, bird’s eye chilli and our regular native variety chilli. This resulted in a very spicy chilli sauce. You can choose milder/spicier versions of chillies as per your spice levels.

Procedure:


IMPORTANT NOTE: The sauce will continue to ferment as time goes on, so be aware of that, and burp the bottles often. (DON’T fill the bottles up to the brim)
Fermentation is a process that needs to be monitored carefully. If the contents are not submerged in water and gets exposed to air, mould and bacterial growth may happen which may be detrimental to the process. It’s best to discard it if you find something amiss.
Your spicy hot fermented chilli sauce is ready!!! Use it in Asian cooking or as a condiment or dipping sauce.

Isn’t this the easiest chilli sauce ever! Let me know if you like to try it too.
Comments
Thanks for the tip on using onions as the top layer. Just started my first fermenting batch.
Glad it helped Trevor. All the best!